- Create New Promoting Item
- Define Total Promoting Contents
- Set your Promoting Contents
- Set Publish Settings
- Preview
- Publish
1. Create New Promoting Item
To create your first Promoting Item, go to Content Promoter > New Item.
You will be presented with the following screen:

2. Define Total Promoting Contents
To set the total promoting contents that you want to promote with this Promoting Item, use the slider.
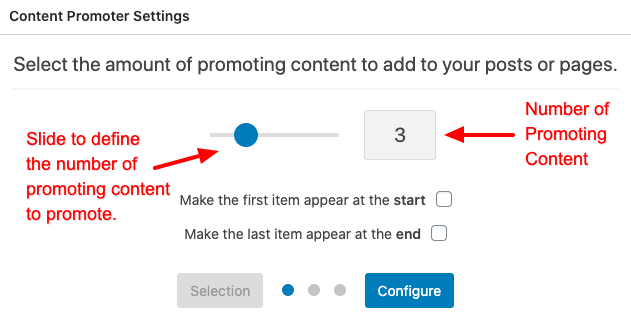
Once you have selected the number of promoting content, you will notice the Previewer updating to reflect the change.

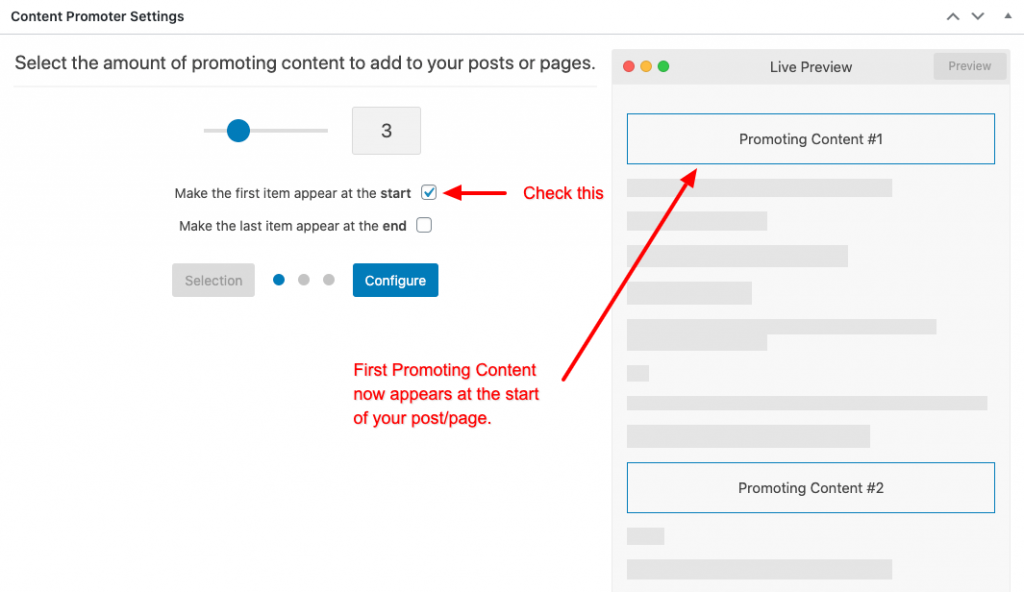
Make first promoting content to appear at the start
To set your first promoting content to appear at the start of your post/page simply check the “Make the first item appear at the start” checkbox.
Make last promoting content to appear at the end
To set your last promoting content to appear at the end of your post/page simply check the “Make the last item appear at the end” checkbox.

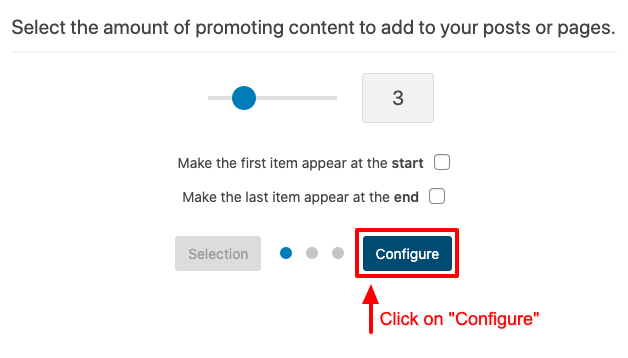
3. Set your Promoting Contents
After you have set the number of Promoting Content for your Promoting Item, its time to set each Promoting Content Type.
You can find detailed documentation on each Promoting Content here.
Simply click on “Configure” button to go to the next step.
Once you are in the Configure page, you can start selecting what type each of your Promoting Content will be.
Click on the Pencil icon to open the type selector and then select the type of your Promoting Content.

Once you have selected the types for each of your Promoting Contents and have set them up, you should have a screen that could look similar to this:

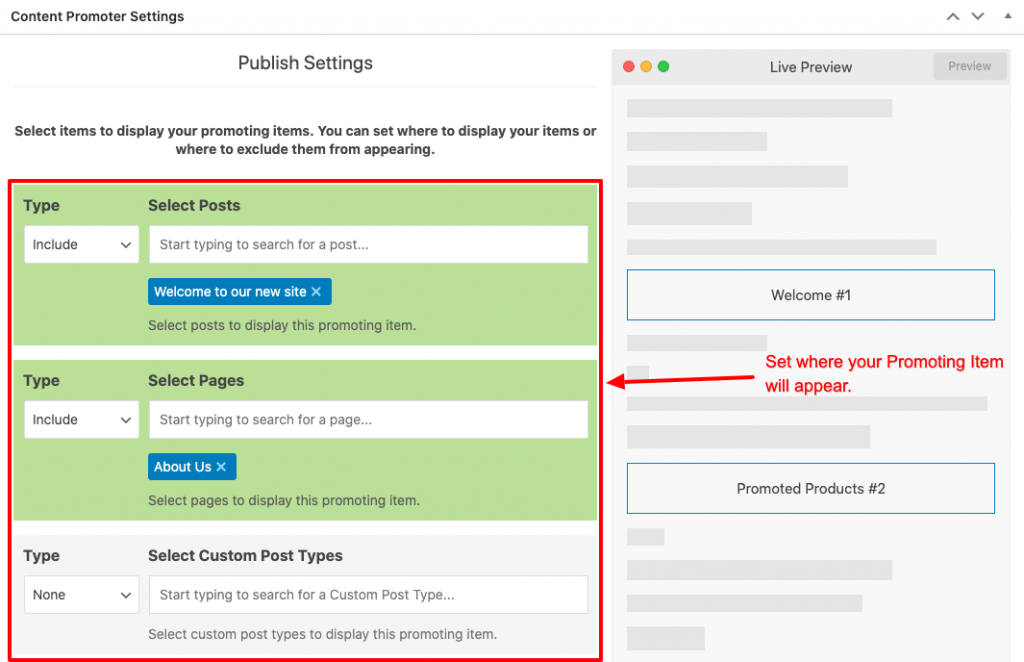
4. Set Publish Settings
Your Promoting Item needs to appear somewhere. Publish Settings help you define where your Promoting Item will appear. Click on “Publish Settings” and start setting where your Promoting Item will display.
Once in the Publish Settings page, you can include/exclude posts/pages/custom post types and define where your Promoting Item will appear.
Mode
You may also set which mode will be used to display your Promoting Item to the posts/pages/custom post types in the section called Configuration.
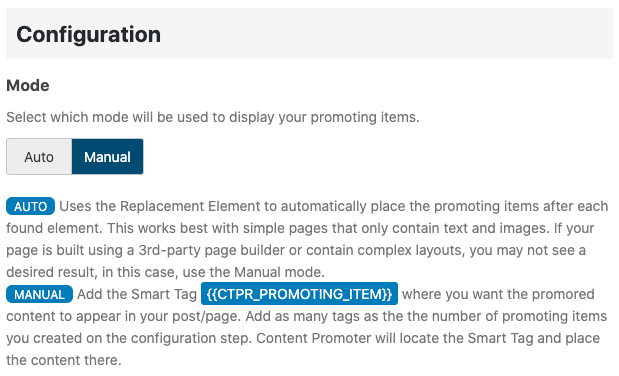
To learn more about how “auto” mode works, read our doc: How does the “Auto” mode work?
To learn more about how “manual” mode works, read our doc: How does the “Manual” mode work?
To learn more about the “manual” Smart Tag, read our doc: How to use the manual mode, Smart Tag, in your posts/pages
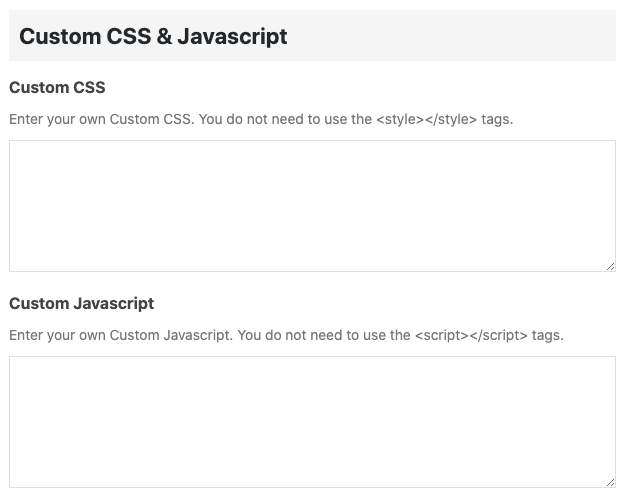
Custom CSS/Javascript
You may also further customize your Promoting Item by adding your own CSS and Javascript. You can do this via the Custom CSS and Custom Javascript sections.
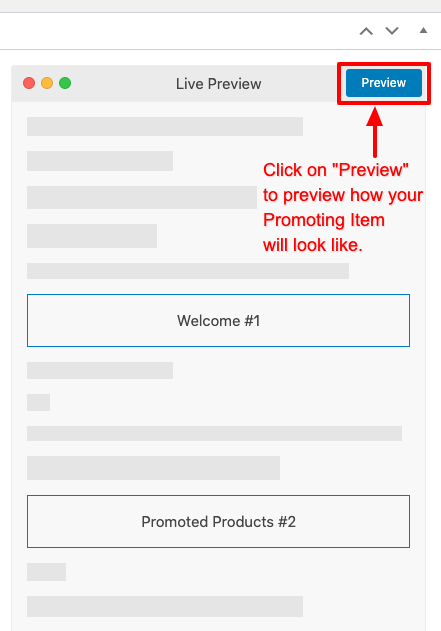
5. Preview
You may preview how your Promoting Item will look like in a post/page by clicking on the “Preview” button, above the Previewer.
6. Publish
Lastly, you can publish your Promoting Item and enjoy promoting content throughout your site.